-
Notifications
You must be signed in to change notification settings - Fork 7
Home
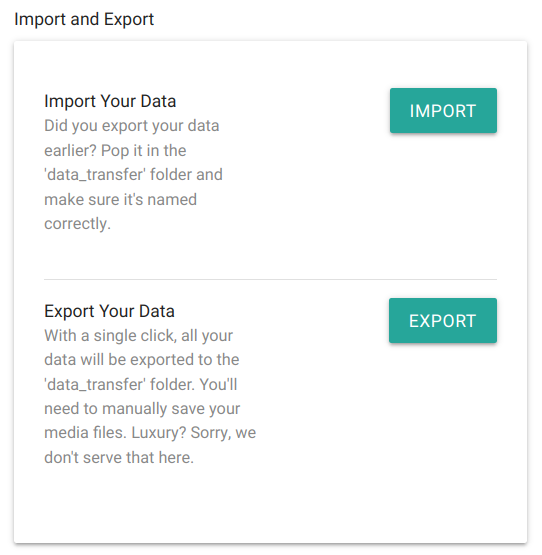
Go to the settings and scroll down to the "Import and Export" section.

When you click on the Export button, your data will be exported as a CSV file (tab-separated) in the data_transfer directory. A separate file will be created for each table.
Media files, such as images and videos, need to be manually backed up. They are located in the upload directory, which you have mounted in the docker-compose.yaml file.
You can also edit the data in the CSV file and reimport it again. However, make sure to edit the file correctly.
If you want to import your data again, place the files to be imported back into the data_transfer directory and click on import. It is not necessary for all files to be present here; adding just one file is sufficient. Also, remember to copy your media files back to the upload directory if needed.
If you want to import your data during the setup, all CSV files that were created during the export must be present. And remember to copy your media files to the upload directory as well.
- Find your language code here.
- Fork this repository, copy the
en_US.jsonin thelocales-Directory, rename it intoyourlanguagecode.jsonand translate it. - Add your language to the
README.md. - Commit and make a pull request
If you need help, please let me know in the issues section.
You can set the execution time in the docker-compose.yaml file using the parameter BW_TIME: "6, 0, 0" in the format hour, minute, second.
The background worker performs the following tasks:
- Remove expired sessions from the database
- Delete images in the upload folder that are no longer associated with entries in the database
- Check for missing media files that are not present in the upload folder but are associated with entries in the database and send an error email
- Send notifications on a specific day, for example, via Push Notification, Telegram bot and/or email, depending on the configured setup.